
A common question I get is “How do you paint a pet’s face?” In this blog post, I’ll share how I do it step-by-step. Note: for the purpose of simplicity, I’m talking mainly about tones in this blog post.
It can be overwhelming to sit in front of a blank canvas when we think about painting a pet’s face as a complete painting. Instead, I invite you to try my process of breaking it down into sections:
This blog is specific to how to paint your pet’s eyes that are soulful and allow your pet to come alive on your canvas. Click the links above for each part of your pet portrait.

Want to learn more in-depth information on how to paint your pet portrait? Click here or the image above to sign up for my course.
Why you should break down the painting into sections
Before we get into the eyes, let’s talk about why you should break down the painting into sections. By breaking it down into sections and layers we’re caring for more than our painting process, we’re taking care of our mental and emotional health by using easy and manageable steps to avoid feeling overwhelmed, or have that self-doubt start creeping in and maximize our chances of following through with the painting.
Moreover, we’re going to simplify the process even further by focusing on painting one layer at a time versus painting a section, for example an eye, from start to finish. Once we have the first layer of the pet’s face, we’ll go back to the starting point again and apply the second layer of acrylic paint.
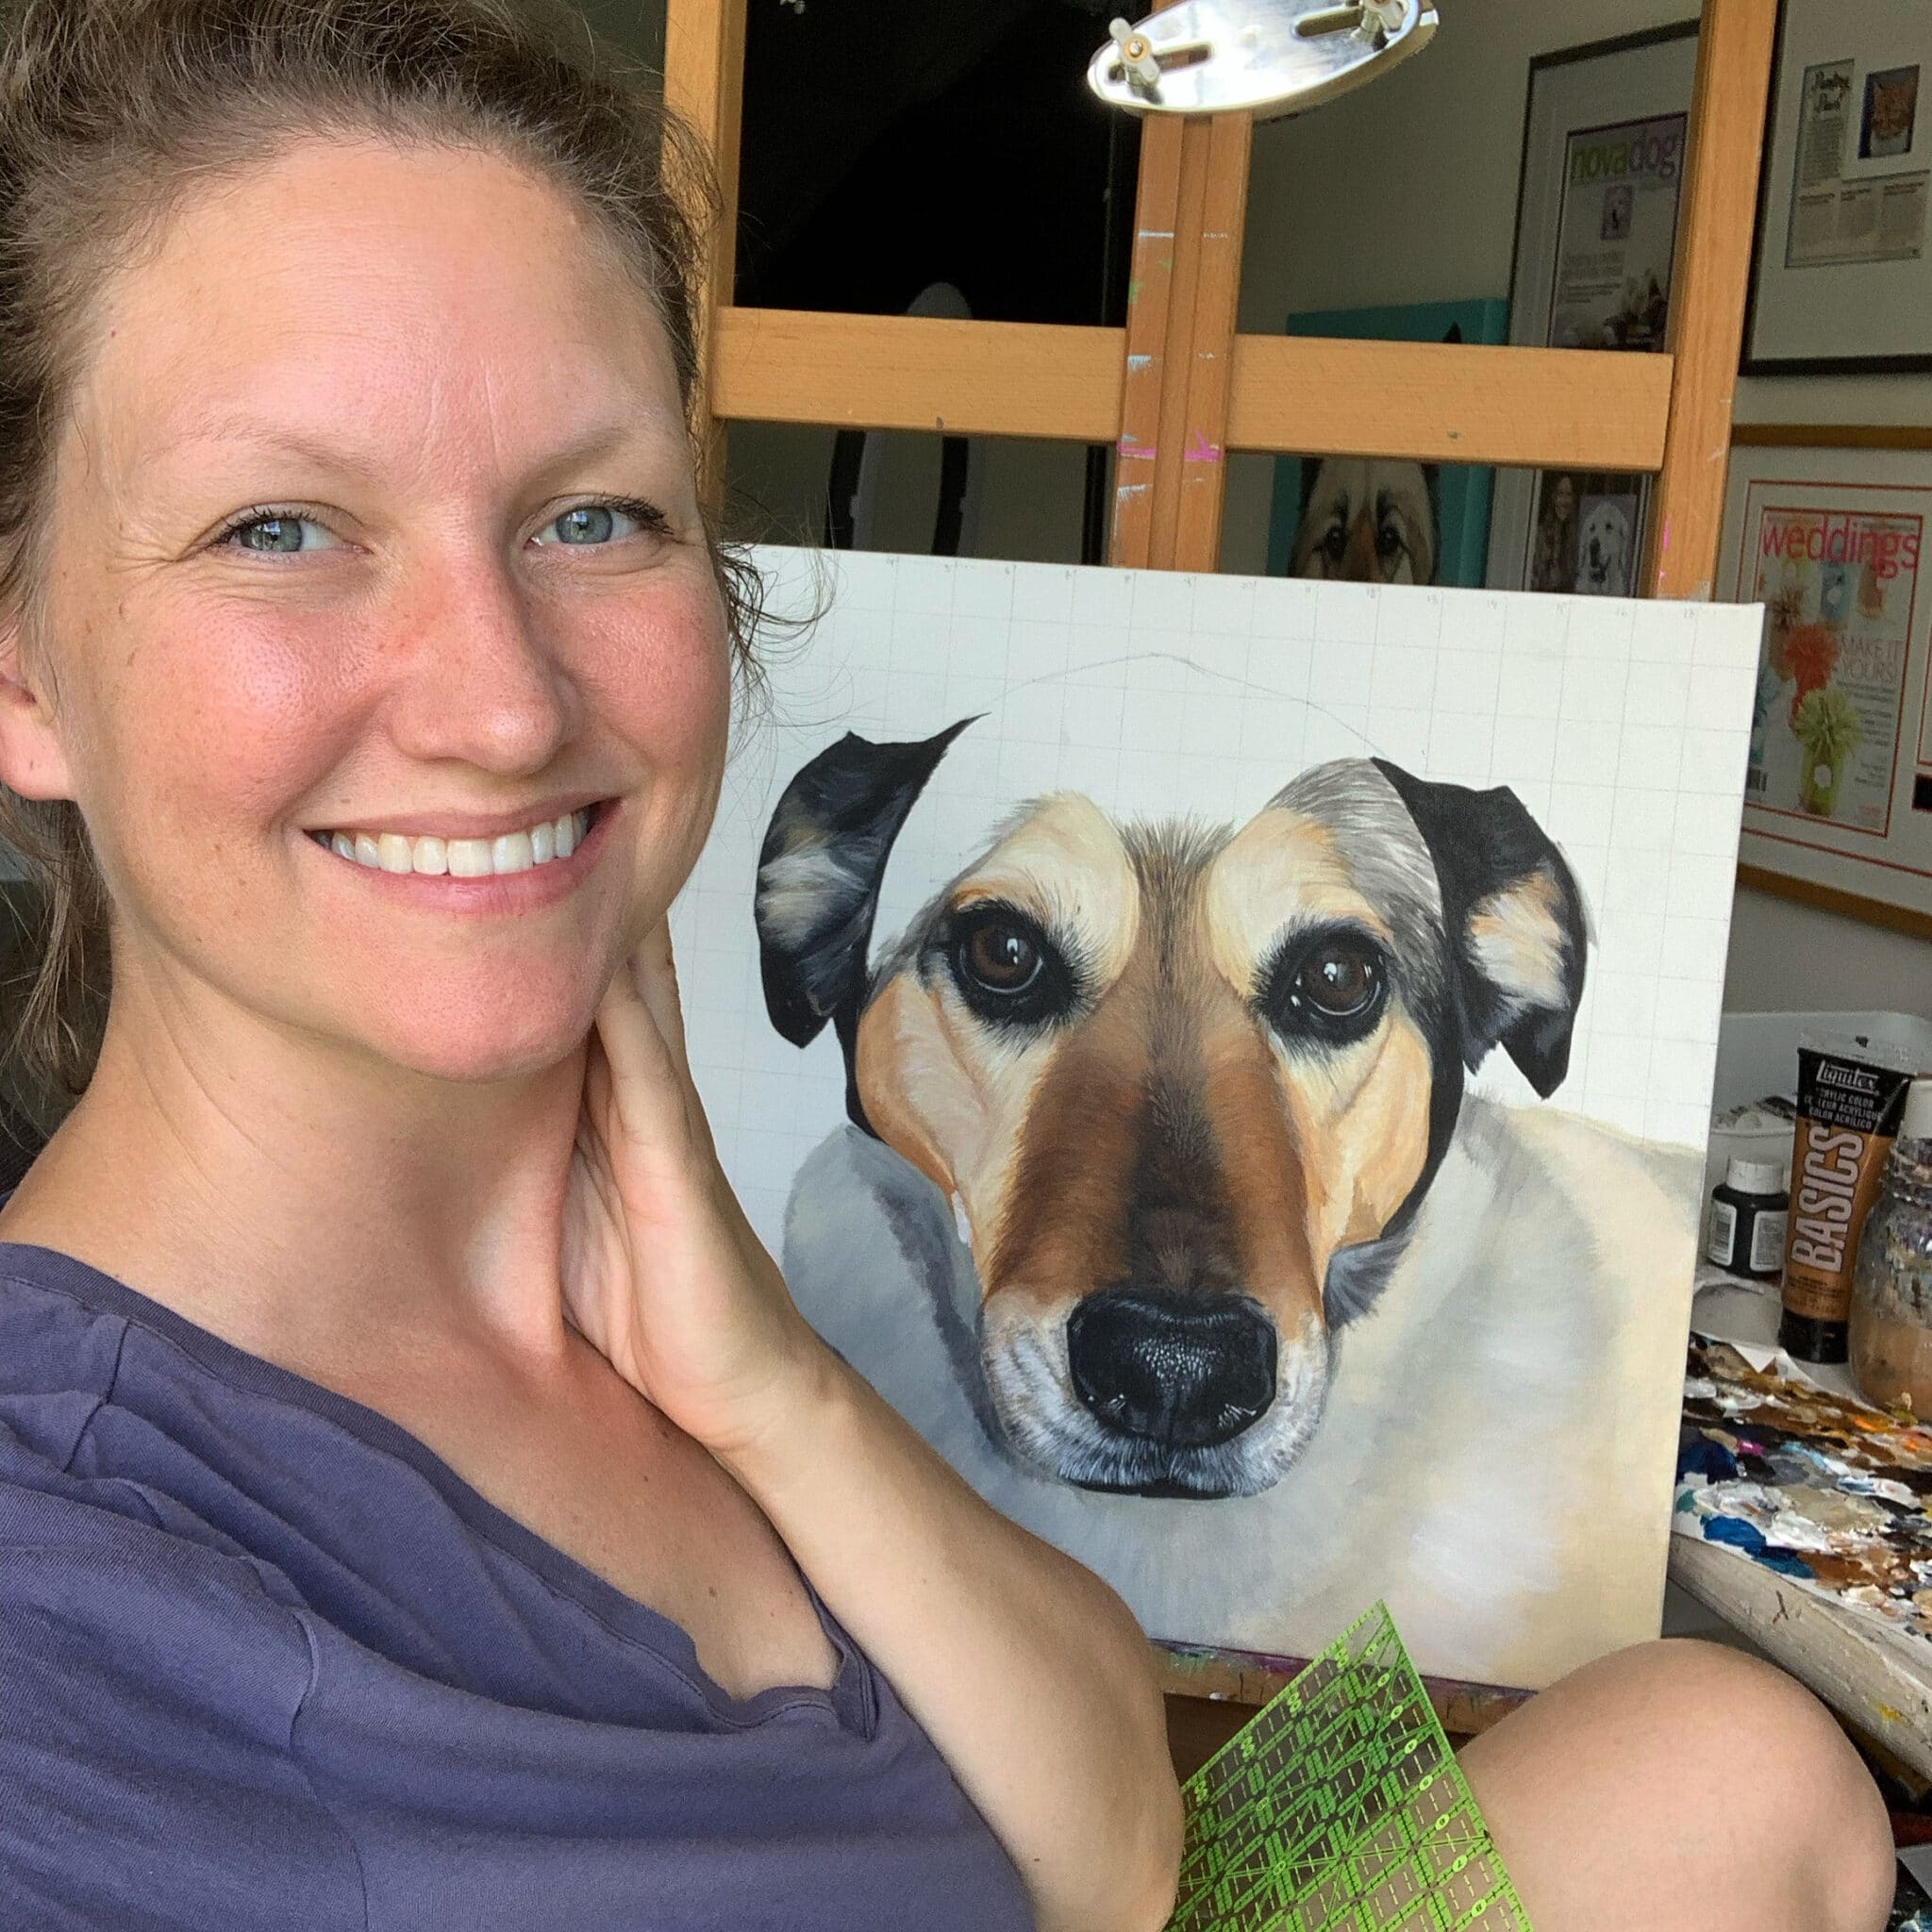
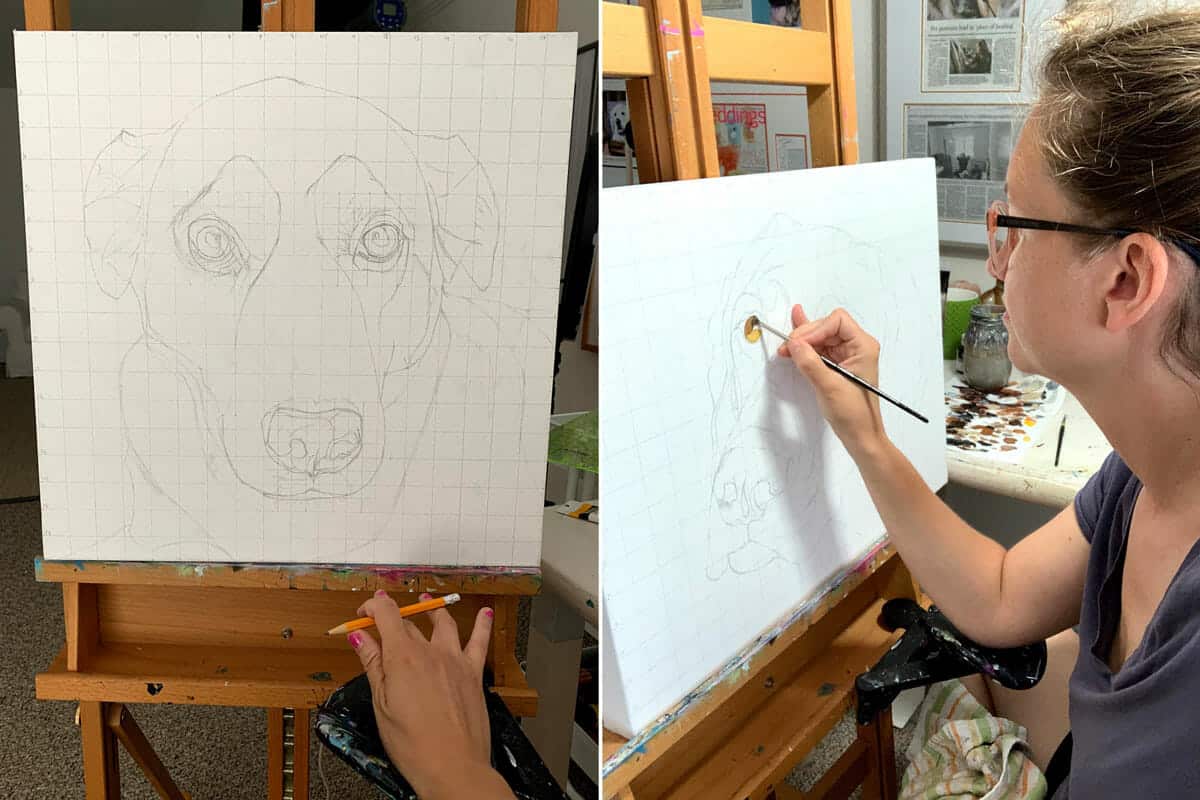
We’re starting with a finished sketch already transferred onto the canvas. I sketch directly onto the canvas with a pencil using a grid. There are many ways to transfer an image onto a canvas and my preferred method is via a grid.
A little note about the sketch: For me it’s important to get an accurate sketch with millimeter precision. It’s the foundation of a finished portrait. My commission clients come to me to get their pets honored and memorialized via a custom portrait and the painting needs to portray their unique pet and be full of the pet’s character and essence. Ending up with smaller or sitting too close will hugely impact your result for commissioned work.
If you’re painting for fun or to sell, the accuracy of the finished sketch is less important because you have the creative license to paint it as you like and it’s less important that the eyes are exactly accurate.
How to paint your pet’s eyes
Ok, onto the good stuff: how do you paint your pet’s eyes. If you want to paint a pet full of life and character that people want to buy or commission from you, the eyes are the most important part. Without nailing those eyes the portrait will fall flat and it doesn’t matter how well the rest of the portrait is painted.
Painting soulful eyes doesn’t mean the eyes need to be painted in great detail or your definition of ‘perfect’. But they need to have ‘it’ – that essence that grabs you and pulls you in when you view the painting. So how do we paint realistic pet eyes that has that glimmer that makes it feel like they are looking back at us?
The eyes are the window to the soul and they are the first thing the viewer will notice when they first see your painting. The viewer (whether it be a potential customer or the commissioned client) cannot connect with your art work if the portrait of the dog has dead eyes. And without a connection to the animal in the portrait, it’ll be difficult to evoke any sort of beautiful emotions to the subject where the viewer feels like they can reach out and touch the animal. So let’s get started:
- Start with painting the darker tones. This will allow the pet to come through on canvas with soulful intention (as opposed to looking dead in the eyes).
- Starting with one eye (I usually start with the left), using a soft body mars black, I paint the outline of the eyeball, then the pupil.
- Taking another darker color blend, apply it to the eye. What does this mean? If this were a German Shorthair Pointer maybe it’s a darker brown blended with some black for example.
In the beginning, I paint each section of the eye – the pupil, the iris, and the rest of the eyeball. I keep the sections separate and true to the sketch. This may mean that some sections are lighter or darker than what they will end up being in the end. This is on purpose so I can continue using the sketch as my guide.
Related: If you’re struggling with your sketch, click here to read why a sketch is helpful, how detailed it needs to be and the steps I take.
How to paint the surrounding area of the eye
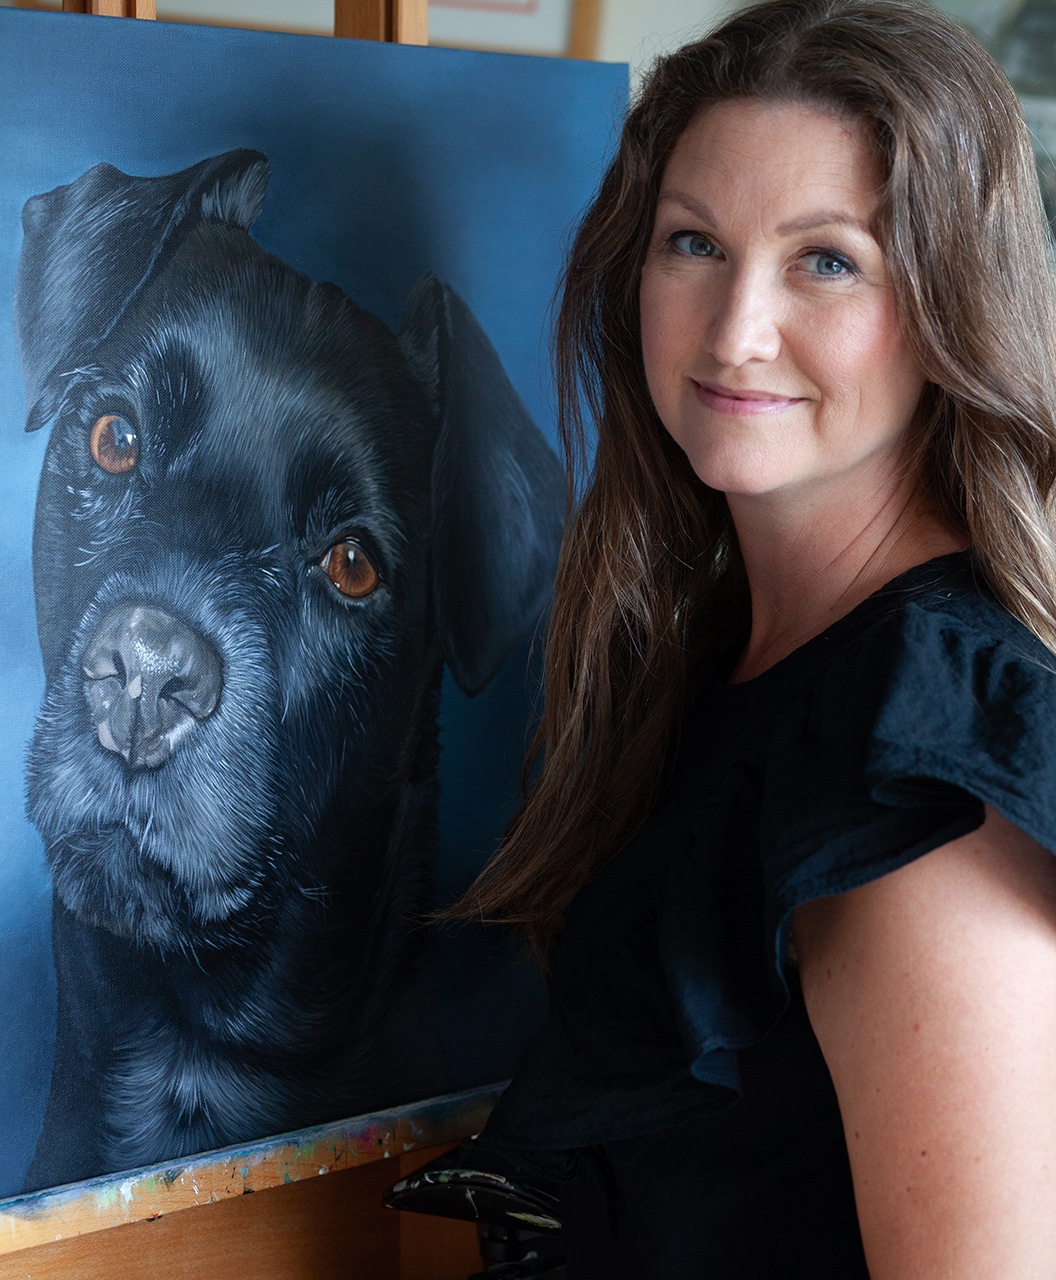
If you look at photos of pets you’ll notice that some eyes will have more definition and color than others. A close up of a cat’s eye for example has amazing details and colors, while a labrador retriever may appear only to have dark brown eyes. It may be easy to identify the many colors to use for the cat eye, but even a dark brown eye is made up of several colors and tones. It’s not just two colors: black pupils and brown eyeballs. Instead, it’s many layers with each layer containing several blends of colors creating that depth and dimension for a soulful eye.
Once you’ve painted all the sections of the eye, you’re going to paint the first layer of the surrounding outside area of the eye.
- Using the photo of your pet for reference and the sketch as a guide, add the darker tones first. Then blend in some mid-tones and some lighter tones.
Adding darker tones first (for example mars black and burnt umber), followed by mid tones (for example burnt umber blended with raw sienna) and lighter tones (think raw sienna blended with unbleached titanium and maybe some white) creates depth and contrast. But even in the first layer I add a little bit of reflection in the eye to entertain myself. If I’m going to work on a portrait for upwards of 80 hours I want to have some life staring back at me.
Once I’ve finished the first layer of the left eye and its surrounding area, I move on to the right eye and do the same thing.
When we’ve finished the first layer of the pet (eyes, nose, mouth, ears and the face and body) we’re coming back to the left eye to start on the second layer. In the second layer, we’re blending the sections together by blurring the lines between the sections. We’ll go back and forth with darker and mid-tones. Eventually, we’ll add lighter tones to the eye to create dimension, and lastly, we’ll add highlights for a soulful finish. Some eyes will be easier to finish and take less layers and time. Others you may find yourself spending hours on just to get right.
What if the portrait has closed eyes? You can evoke the same amount of emotions and memories with a portrait with closed eyes, for example if a pet is sleeping or enjoying the wind. The key then becomes to get the expression right.
Now that we’ve got the eyes down, it’s onto the nose. Feel free to ask any questions in the comments below and to check out my courses for more detailed information.
xo,


Some bonds never really leave us.
They simply find new ways to stay close.
Begin Your Portrait Conversation
If you feel drawn to honor your beloved companion in this way, you’re invited to learn more about commissioned heirloom portraits.
Oii estava navegando em seu blog e encontrei diversos artigos interessante como este. WhatsApp Samsung
Thank you Erica! Beautiful, inspiring work!