The pet is starting to come alive on canvas, and the next step is to paint the adorable nose, and then the mouth.
As noted in my previous blog, you want to work on your painting in layers, starting with the eyes. If you haven’t started with the eyes yet, click her for a tutorial on how to paint realistic eyes.

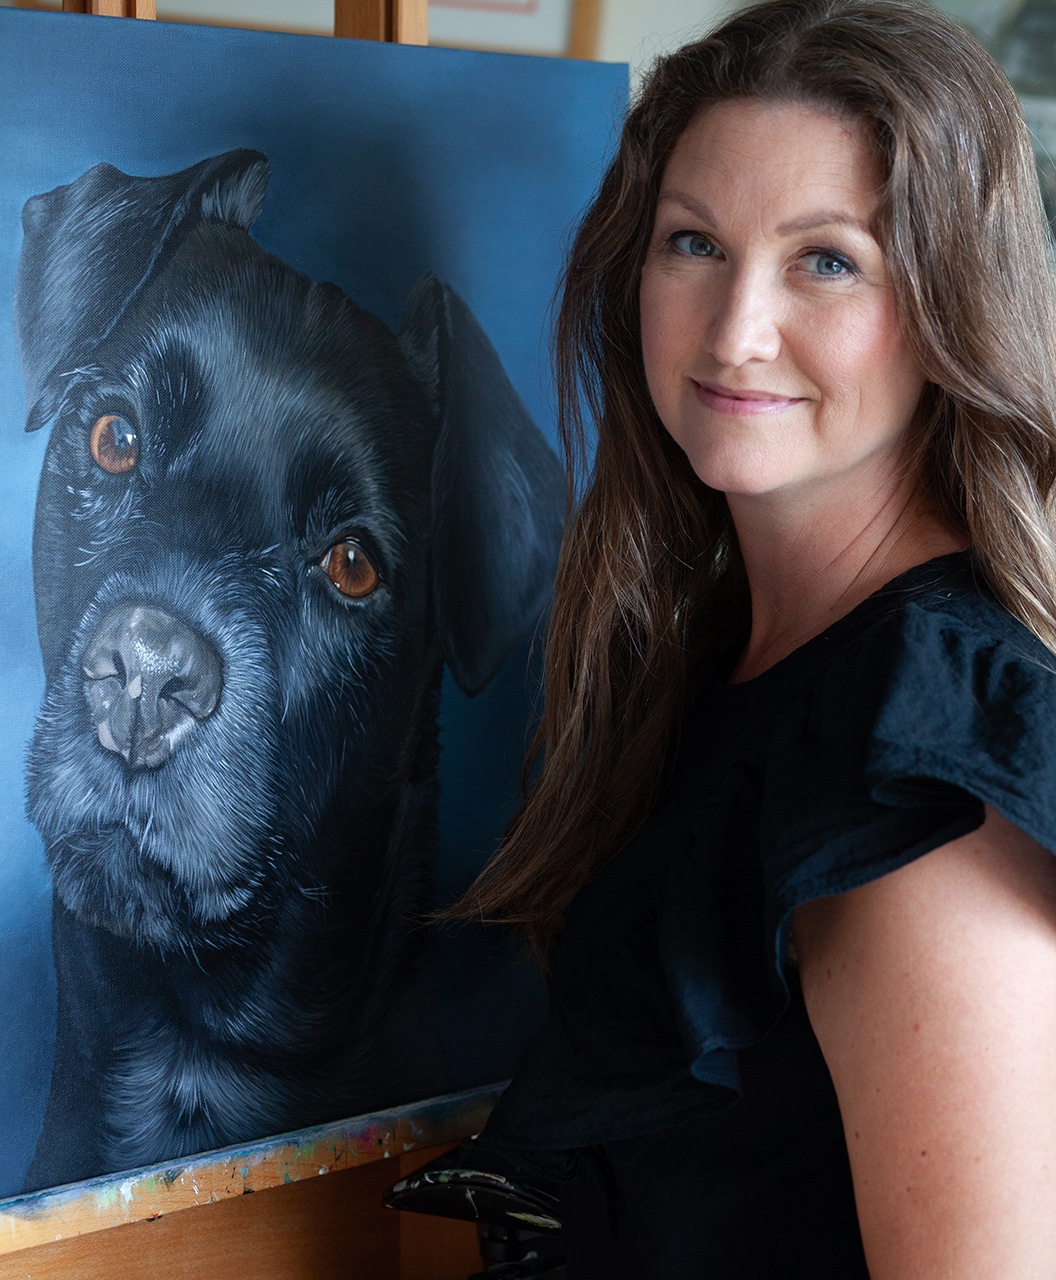
Want to learn more in-depth information on how to paint your pet portrait? Click here or the image above to sign up for my course.

How to paint pet’s nose
Assuming the first layer of both eyes is complete, we’re continuing with the darker tones of the nose.
- First I fill in the depth of the nostrils with darker tones.
- Then I continue with the outline of the nose, particularly around the folds where the sketch can quickly be overpainted, and the philtrum (the line in the middle separating the nostrils) before filling in the folds and the nose pad blending darker colors and midtones.
Another great tip: Notice the texture of the nose (look at all those tiny dots!) and see if the nose is wet or dry. Sometimes the color of a nose changes as a pet ages and some of my clients have requested the look from the younger years of their pet.
While I tend to stick with blends of black and white, or brown and red shades for noses (depending on the breed or if it’s a dog or cat), there are a lot of colors one can see in noses. Just the color black can have highlights of blue, purple and red in it.
Before moving on to the next feature, I’ll add just a tad bit of a highlight to recognize in the reflection of where light is hitting the nose, if there is any. It just adds a little bit of something for my own enjoyment.
After the first layer of the nose (which will look a bit flat for now) I continue with the surrounding area of the nose before moving on to the mouth. Depending on the complexity or size of this area, I’ll either focus on just the immediate area or I’ll paint a bit more.

Related: If you’re struggling with your sketch, click here to read why a sketch is helpful, how detailed it needs to be and the steps I take.
How to paint your pet’s mouth
The mouth is the last thing I paint of the three main features (eyes, nose and mouth).
Majority of the pets I paint have a closed mouth which makes it less of a main feature because it doesn’t take up a lot of physical space on the canvas. Still, even a closed mouth can add so much to the viewer’s experience. Closed or open, find the details and that little extra that makes the mouth unique for this particular pet.
How to paint pet’s closed mouth
If you’re painting a closed mouth, you’re going to focus on finding the lips and paint the fur that connects the nose and the upper lip in this first layer. Is there any hair in the mouth? This often happens to long haired dogs like Yorkshire terriers.
You want to paint the darker tones of the sides of the mouth in this layer or sides of the bottom jaw to add depth for any fur that will be painted on top of this later.
Even in this first layer, I add definition and depth by adding darker tones and maybe even some detailed strands of hair as part of the ground work.
How to paint pet’s open mouth
My clients’ often tell me ‘I can smell his/her breath on my face!’…. And I want you to keep that in mind when you paint a realistic open mouth. It’s not a bad thing to do some dental hygiene for a fresher breath. If the mouth is open, with a big tongue or wonderful teeth, follow these steps for a realistic pet portrait.
- Start by adding the darker tones to the back of the mouth and gum first.
- Continue this with all other sections of the mouth.
Each area of the mouth (gum, teeth, tongue etc.) will have a different set of darker, mid and lighter tones. The teeth for example may be a blend of unbleached titanium, creamy yellow, gray and titanium white. Maybe they have a bit of reflection from the deep purple, blackish or pink or bluish gum?
Once you’ve finished the first layer of the mouth we’re moving on to the ears. While this isn’t considered as a main feature there are definitely ears that are full of character and a life of their own.
If you’ve gotten this far, yay congrats! You’ve got eyes, nose and a mouth starring back at you. It may not seem like much when we look at the canvas but this first stage is all about the groundwork. Keep up the patience and focus. You’re doing great and you’re right on time. Next up we’ll paint the face and body for a realistic pet portrait.
Now I’d love to hear from you. Did you have any aha’s reading this part of the process? Have you tried it this way?
Leave a comment below and let me know.
No matter what season you’re in, the bravest thing you can do is to simply start. Check out my courses to find what may assist you in picking up that brush and following through.
xo,


Some bonds never really leave us.
They simply find new ways to stay close.
Begin Your Portrait Conversation
If you feel drawn to honor your beloved companion in this way, you’re invited to learn more about commissioned heirloom portraits.