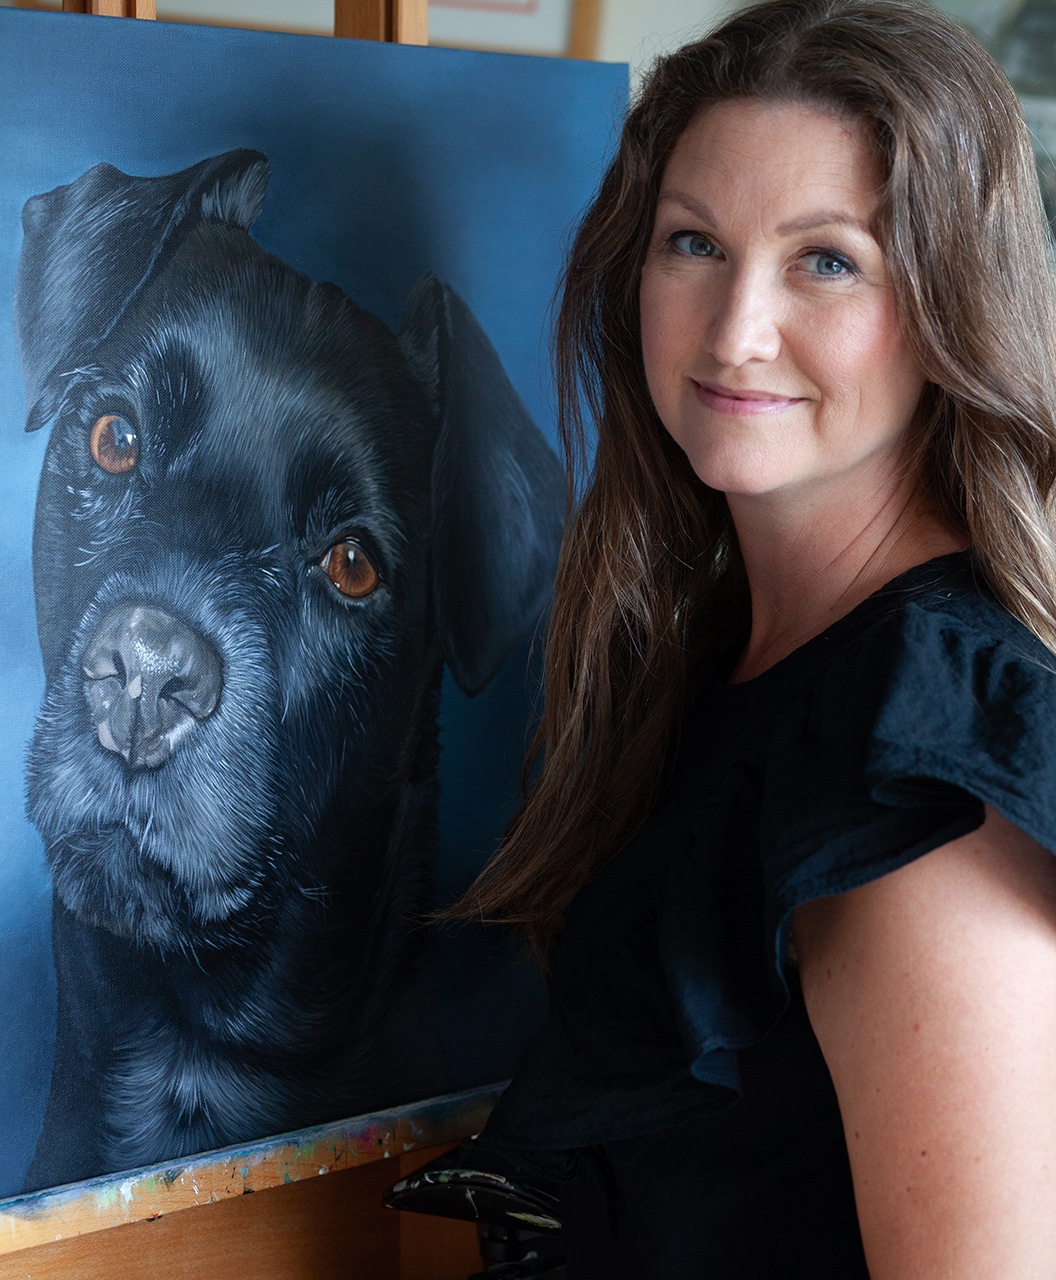
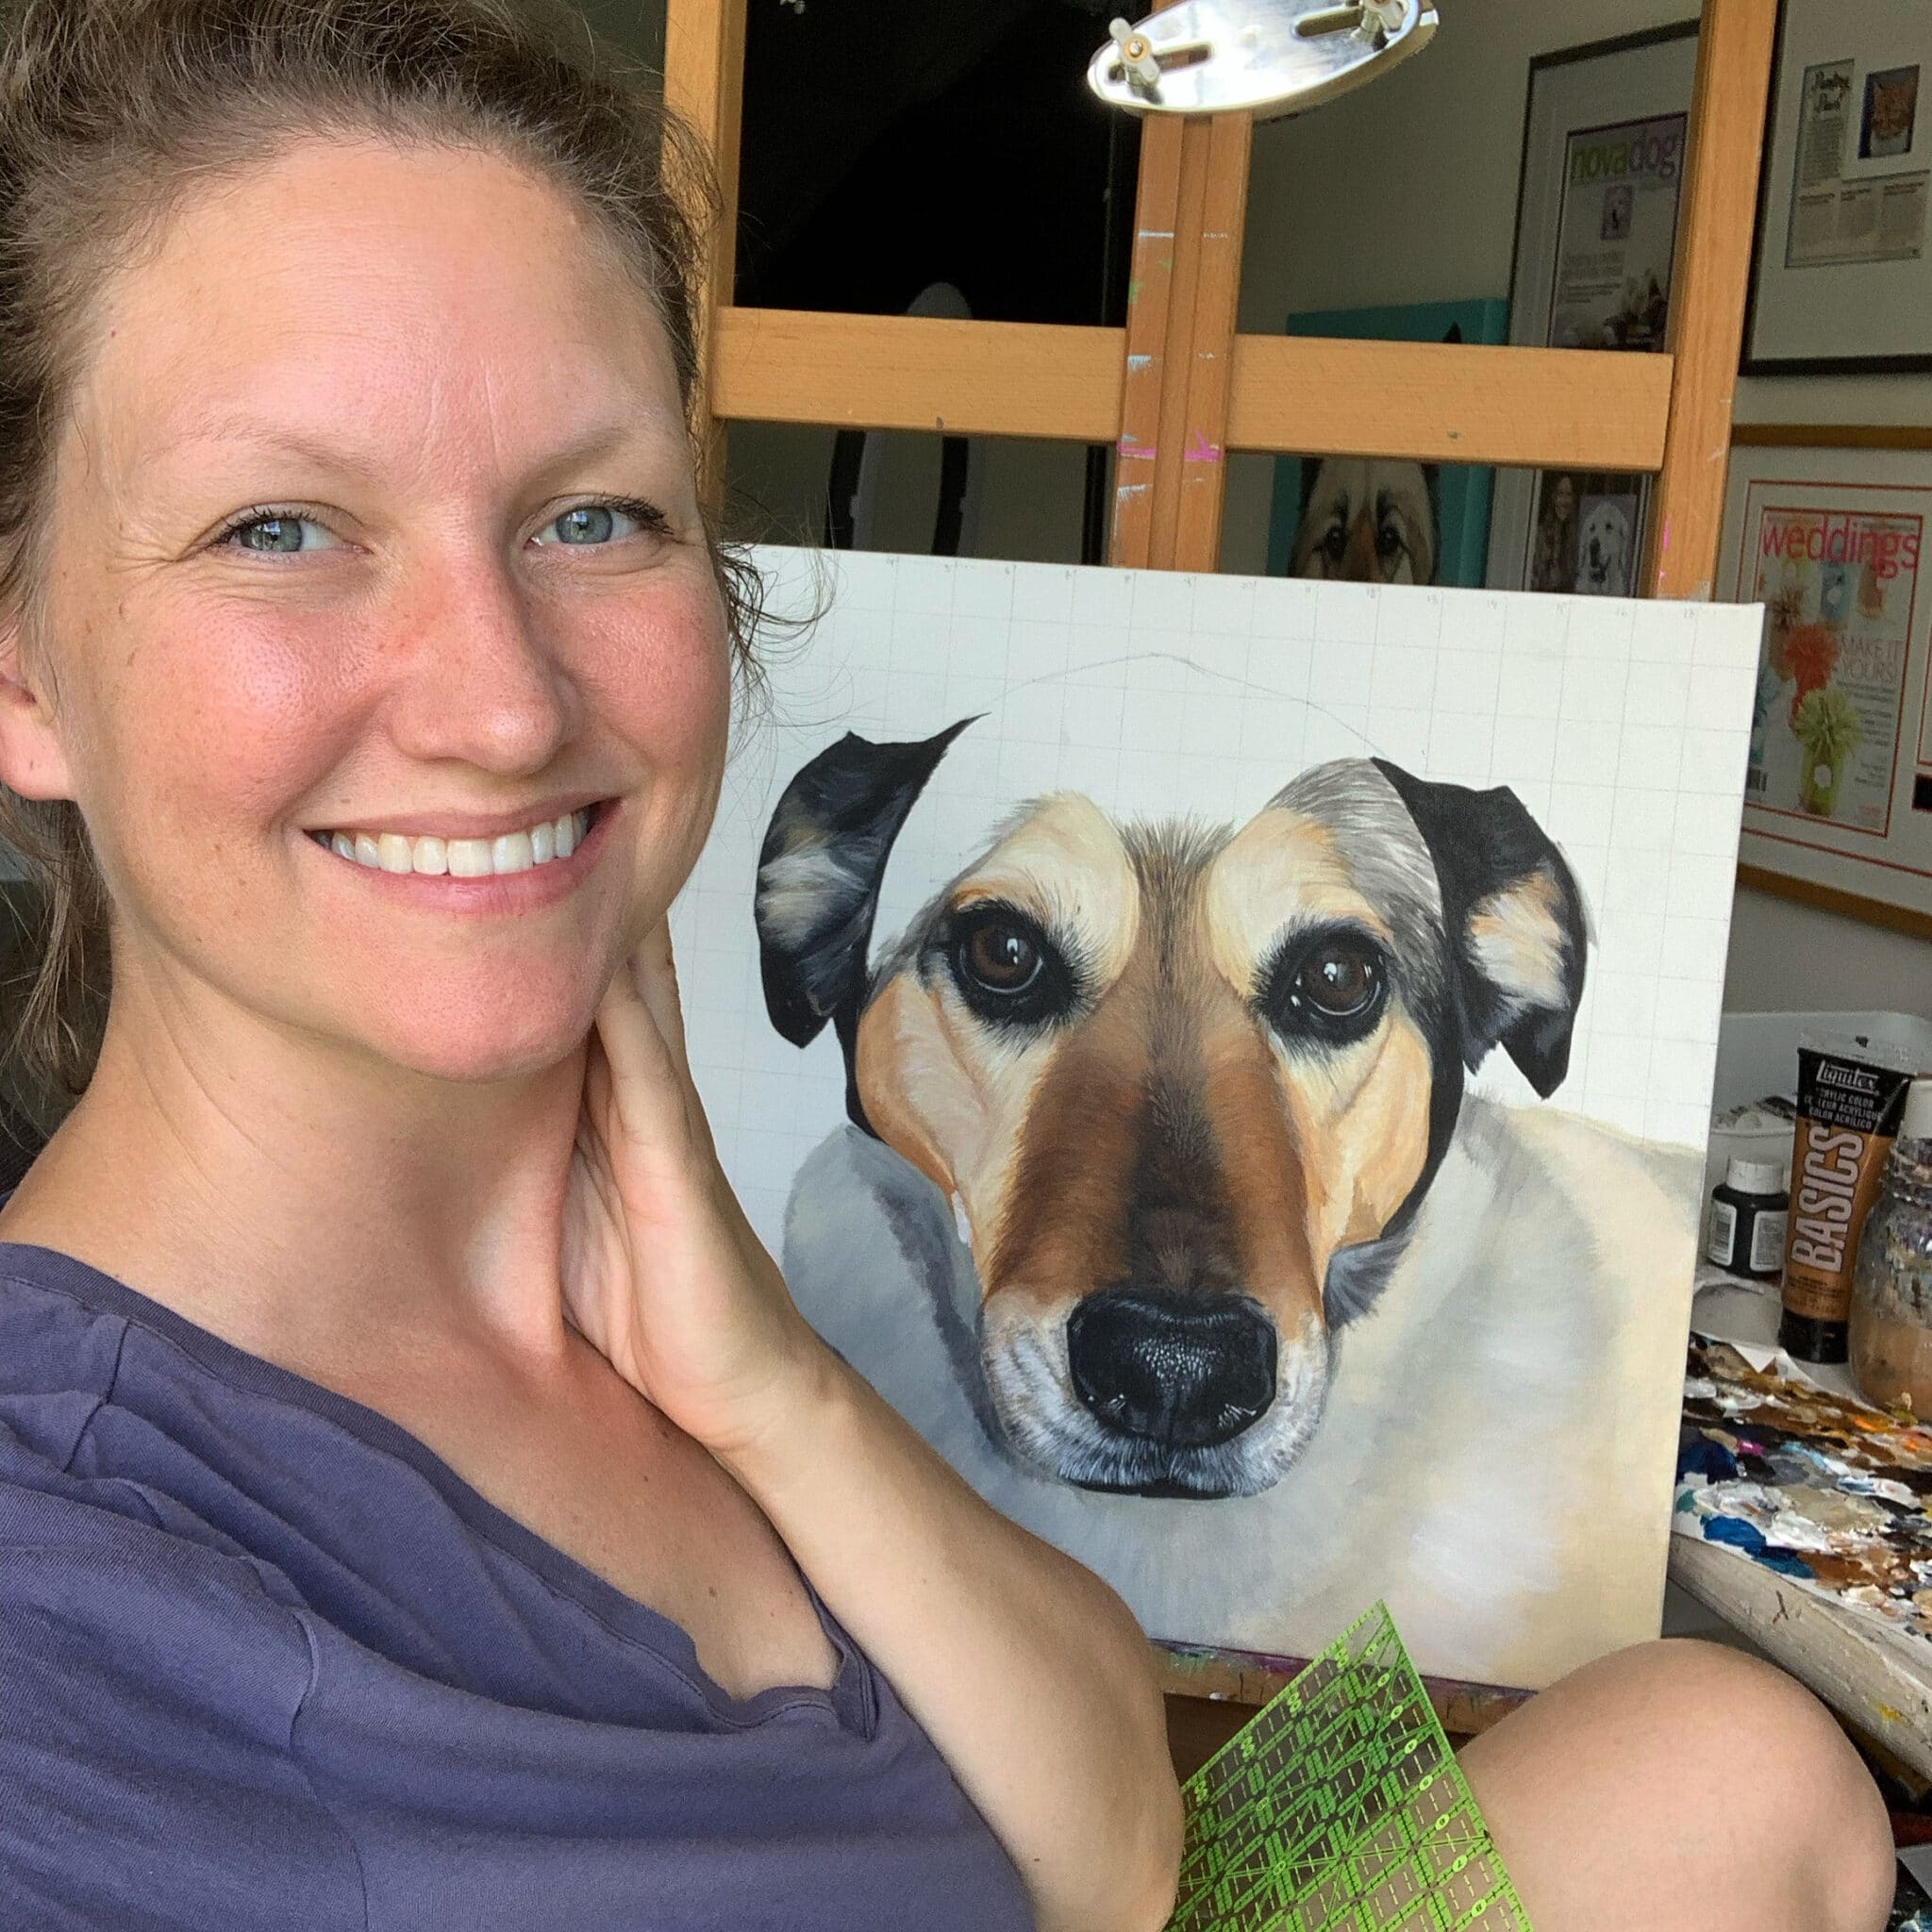
The first layer of the main features are done. Since every dog or cat I paint are a commission, I love the feedback I get from the client from this stage. A recent client shared this with tears in her eyes: “This is so exciting! It’s like you’re bringing my boy to life on canvas!”
I sit alone in my studio, and maybe you do as well… and it can be easy to forget the impact and how healing this creative process can be to the pet parents.
If you haven’t started on the main features yet, click here for a tutorial on how to paint realistic eyes and then check out how to paint your pet’s nose and mouth next. Or start at the very beginning and learn why you should sketch before painting.

Want to learn more in-depth information on how to paint your pet portrait? Check out my on-demand course How to Paint Soulful Eyes.
How to paint your pet’s ears
It doesn’t matter if the ears are standing straight up, hanging down, covered in hair or barely visible, you want to simply start painting the left ear’s outline with a darker tone. Here are some things to consider:
- If the ear is full of hair, you want to look past it and see the skin color of the ear flap (if it comes through in the painting), notice the skin folds, and ‘henry’s pocket’ (the little slit at the outer base of the ear which all cats have but only some dogs do).
- Study what you see and paint the foundational layer first.
- Add shading to where the ear canal is if the ear is upright
- Add darker tones (shading) alongside the face if the ear is hanging down.
Most pets have ear fur, must remember that it’ll most likely be added much later.
Don’t be shy painting the ears in sections, just like you did with the eyes and nose. Those sections will be blending together eventually but for now, they are keeping the integrity of the sketch alive as you’re putting paint to the canvas one layer at a time.
Once you’ve painted the left ear, continue with the surrounding area of the ear, just to anchor it into the face, then move on to the right ear and do the same process. Once you’ve got two ears painted with the groundwork of the surrounding area complete it’s time for the final step of the first layer – the face!
It’s time to connect the features you’ve already painted. I start with an area where my brush is drawn to. For example, if it’s the right cheek/muzzle area you’ll be painting the section between the right eye and the right side of the nose.
How to paint your pet’s face
Be mindful when applying your tones here. It’s better to go the middle of the road on your first layer. I find that I rather use mid-tones blends and use the darker tones as part of the shading, rather than going wild with darker tones first. It’s easier to blend in darker or lighter colors when you’re using those mid tone colors rather than after using large brushstrokes of darker colors. Unless of course it calls for it.
Once you have one section painted (for example the right cheek), move on to the next section with the goal of having the face complete with a first layer.
Most likely your pet has a connecting neck and body as well so you’ll continue painting the foundation of the body next.
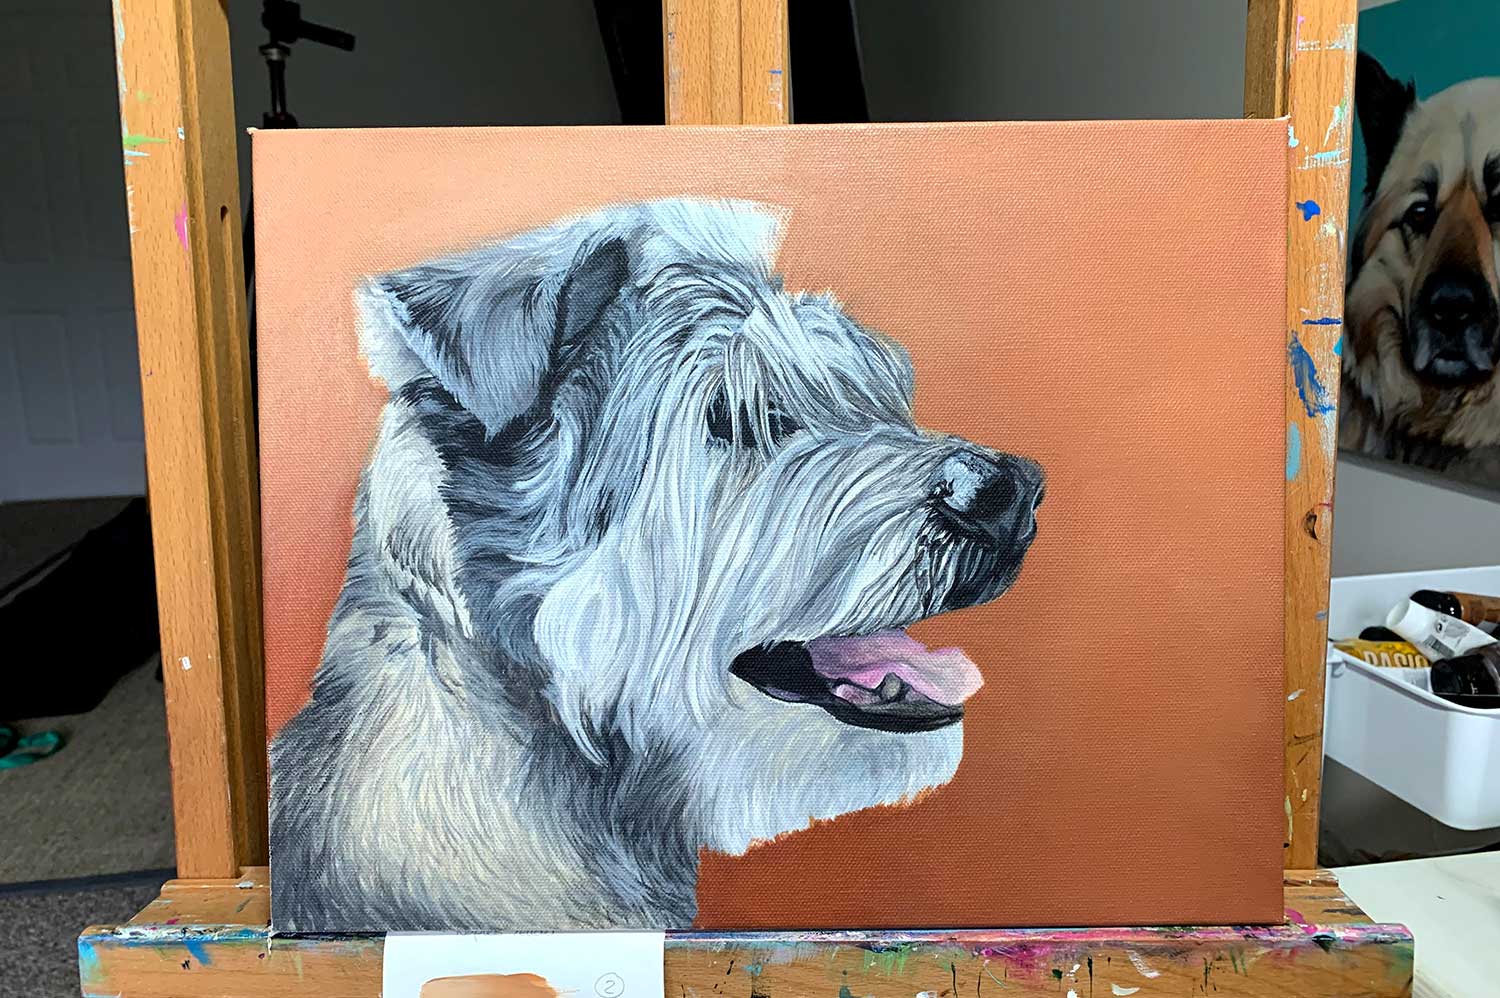
How do you paint realistic fur in pet portraits?
Let’s talk fur. We’re laying the foundation of that detailed fur with this layer. The end goal with my custom pet portraits is for the viewer to feel as if they can run their fingers through the fur. I paint detailed fur, often laying down individual strands of hair in layers. Even when I’m applying the first layer, I paint in the direction of how the fur is growing. Every breaststroke is done with deliberate intention and with the end goal in mind.
Sometimes a pet has one fur color with only a bit of little variations in hues and levels, think a golden retriever, other times it can be an intricate fur with lots of individual strands of hair and fluffy fur with various colors, think Yorkieterrier. Sometimes the pet’s fur is all white or all black, or has different colors on each strand of hair, think American shorthair cat. Each fur is different but what is the same is that I create the lifelike fur in several layers, from the groundwork to the finishing highlights.
Some pets have more defined whiskers than others. Adding them or making them bolder than what they are supposed to be can significantly alter the appearance of your pet. Paint them thinner in the beginning and don’t forget that even whiskers are done in layers with different tones for shading and light reflection to each whisker. Then take a step back and add more if you need it or after you’ve talked with your client.
If you find yourself on the emotional rollercoaster of self-doubt when you’re painting the first or the second layer. I invite you to slow down and take a breath. All is well my friend. This is the phase that I like to call ‘the ugly phase’.
The face always seems a little odd, or off-hue in the beginning because we haven’t done all the steps yet. That’s OK. We’ve focused on adding the darker tones of the main features and then connected all the features with mid-tone colors for the groundwork of creating depth, contrast and dimension, and building the foundation to support the lifelike fur. One step at a time.
My paintings are always ugly in the beginning, but that’s why I stick to my proven process because it works. I often tell my clients to trust me and to hang in there – it will get better. This groundwork that the rest of the portrait to build upon is so important. One brushstroke at a time, one step at a time, we’re allowing our pet to come alive on canvas.
Start painting the second layer
Now that you’ve finished one layer of a pet’s face, you’re going to start again on your second layer. Start again with the left eye, then the right and so on. Each layer that I add to this face and body will have various degrees of details. Maybe the first layer includes the darker tones of the bottom right cheek, while in the next layer will have a mid-tone blended in to create depth and some details to build upon in the third layer and so on. Each layer has its purpose and you’ll add more details in each one.
Related: Click here to read more about why you should paint your pet portrait in layers.
This proven process has supported my success as a commissioned painter of custom pet portraits for over a decade. By having a structured process I let go of my mind and my ego and allow for the art to flow through me. I let my brush intuitively guide me and I paint with a sense of peace and joy.
Practicing this process each time allows me to intimately know each stage of the process so I successfully deliver a premium painting but also support myself during each new commission process to keep myself feeling well, physically, emotionally, mentally and even spiritually.
If you’re ready to expand your artistry after this series, join my online course How to Paint a Dog Portrait. Enrollment opens only once a year.
Leave a comment below and let me know.
xo,


Some bonds never really leave us.
They simply find new ways to stay close.
Begin Your Portrait Conversation
If you feel drawn to honor your beloved companion in this way, you’re invited to learn more about commissioned heirloom portraits.